How to take attendance in Moodle using QR code for one Group
Step2
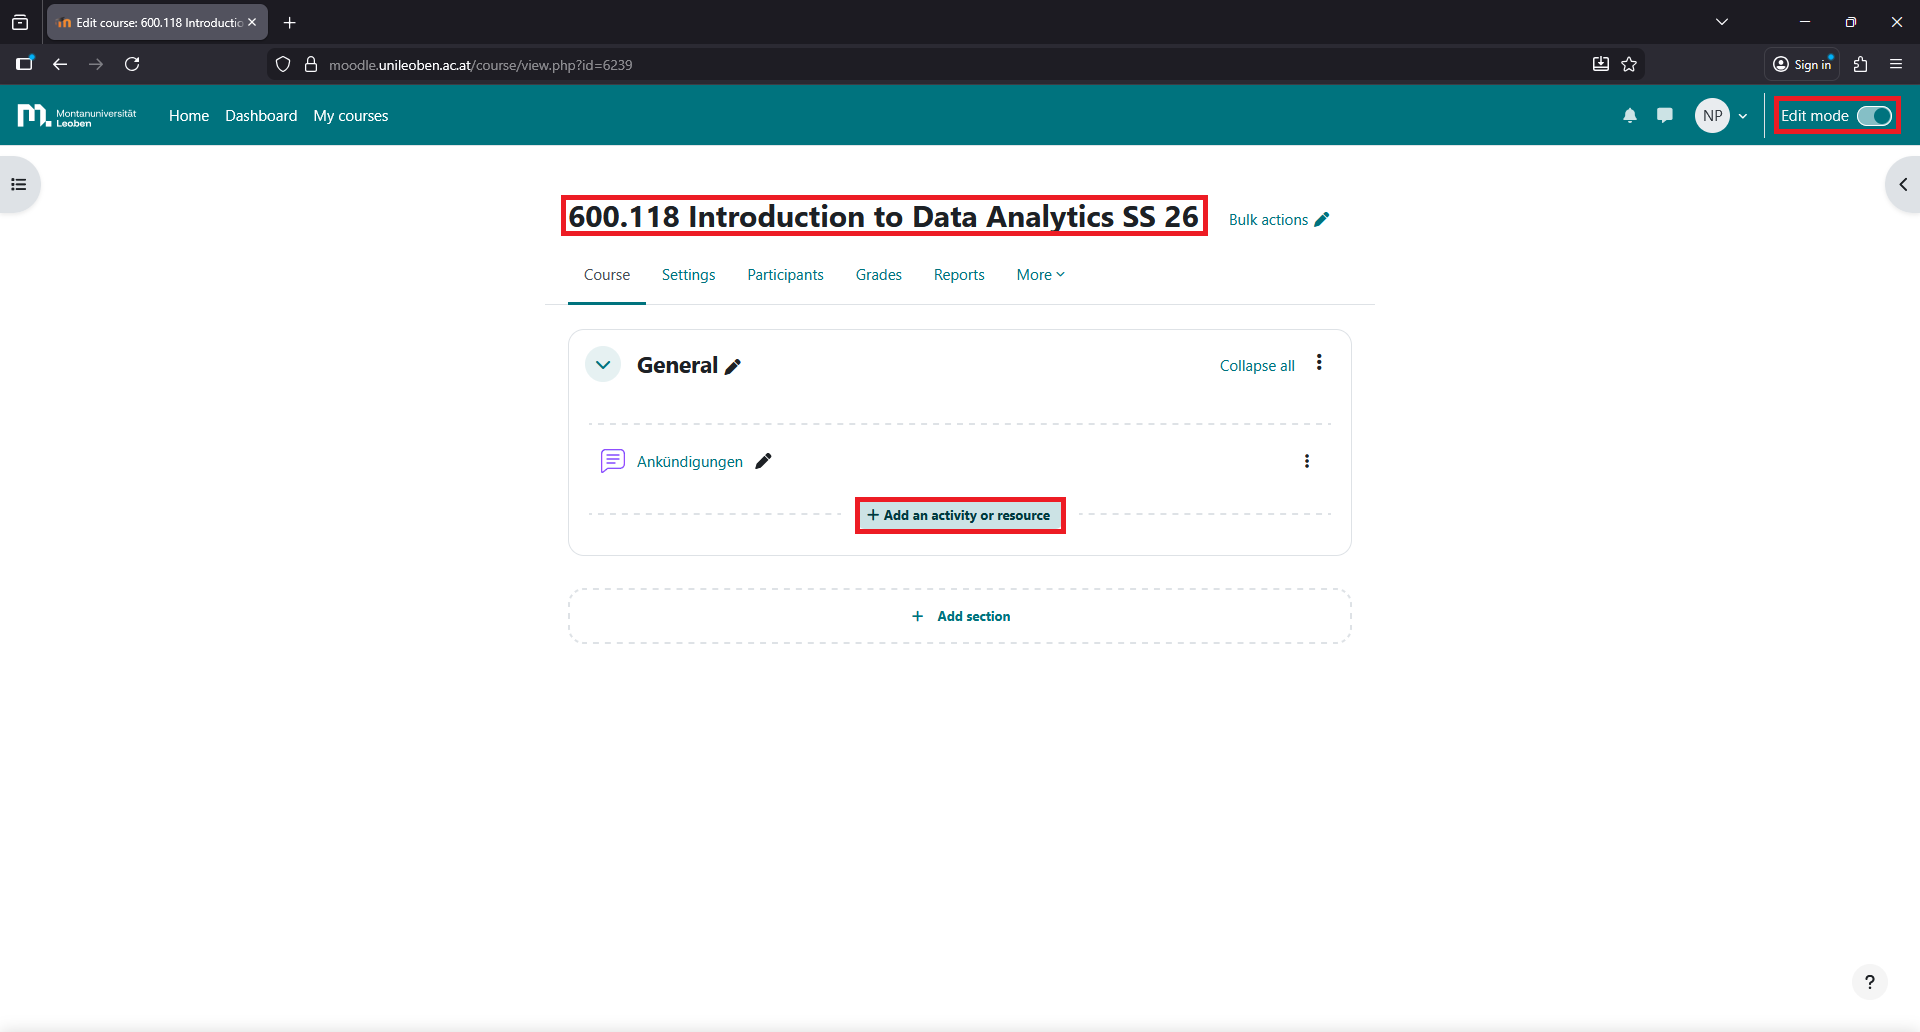
Go to your course page and activate the “edit mode”.
Step 3
Click on “Add an activity or resource”.
Step 4
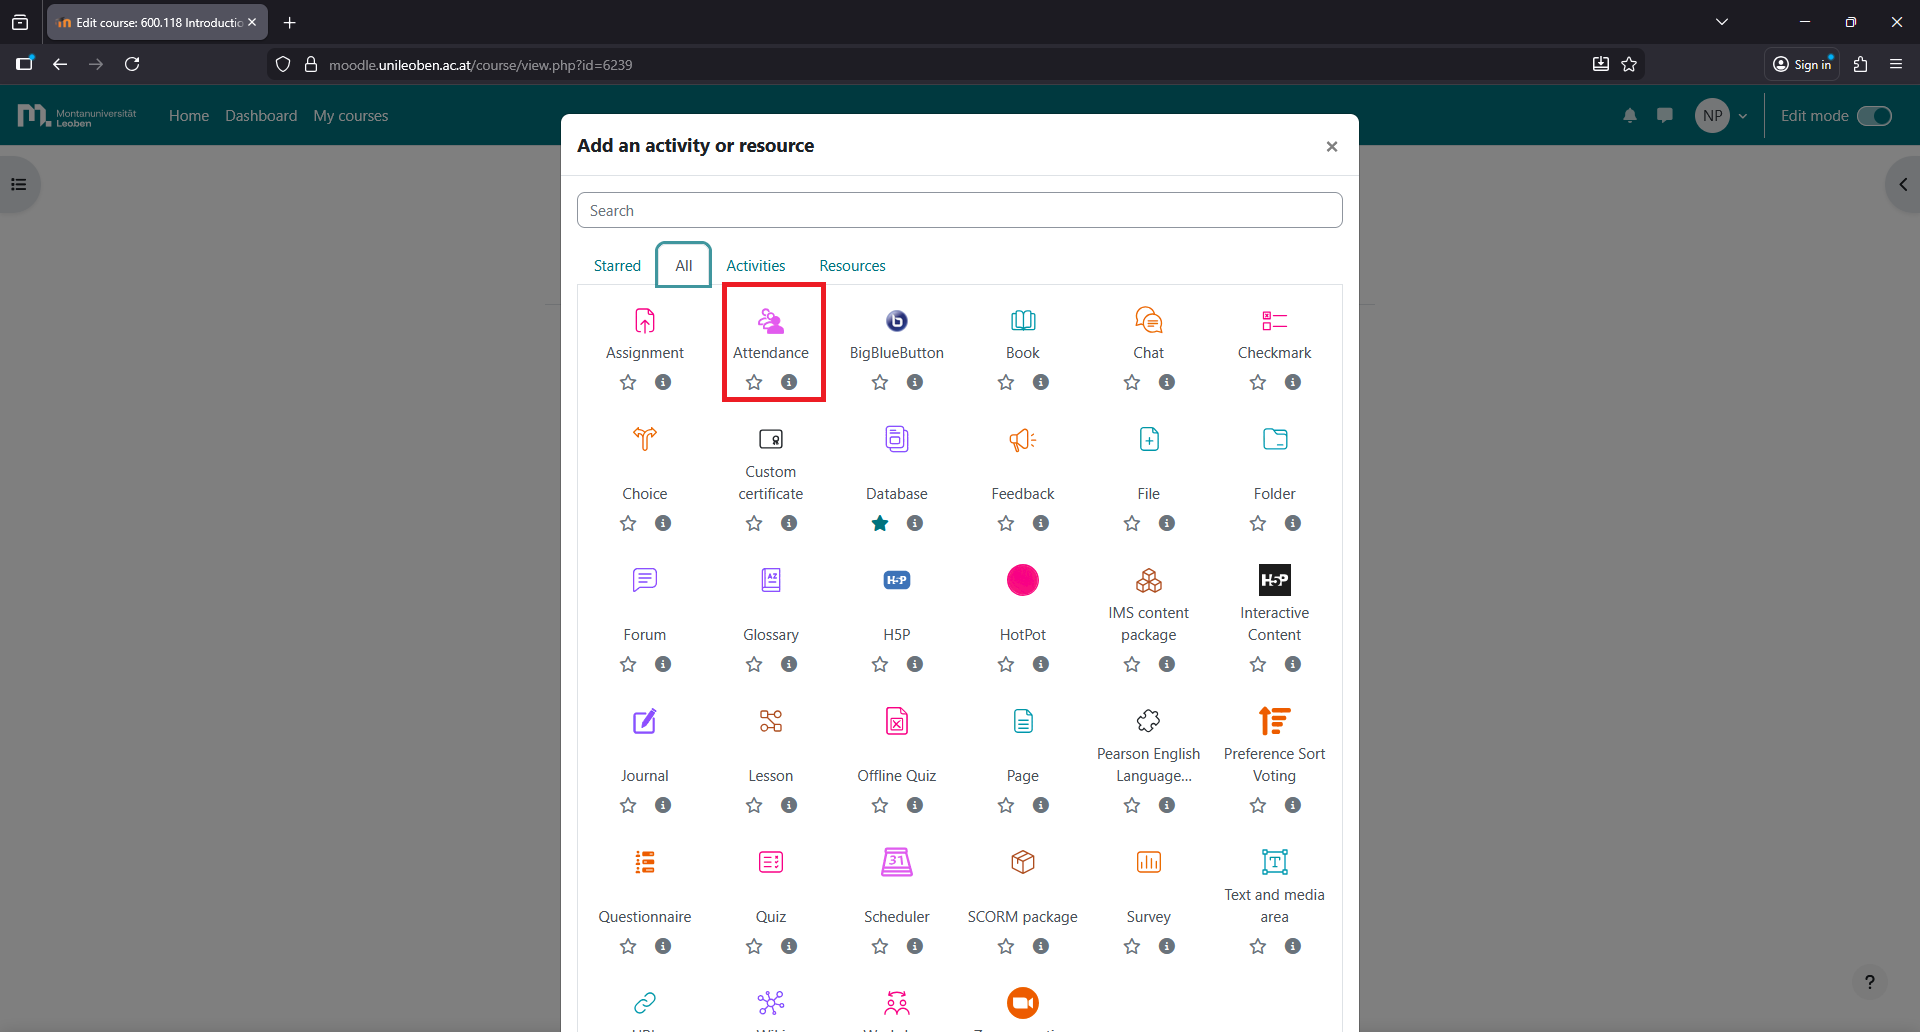
Select “Attendance” and click ”Add”.
Step 5
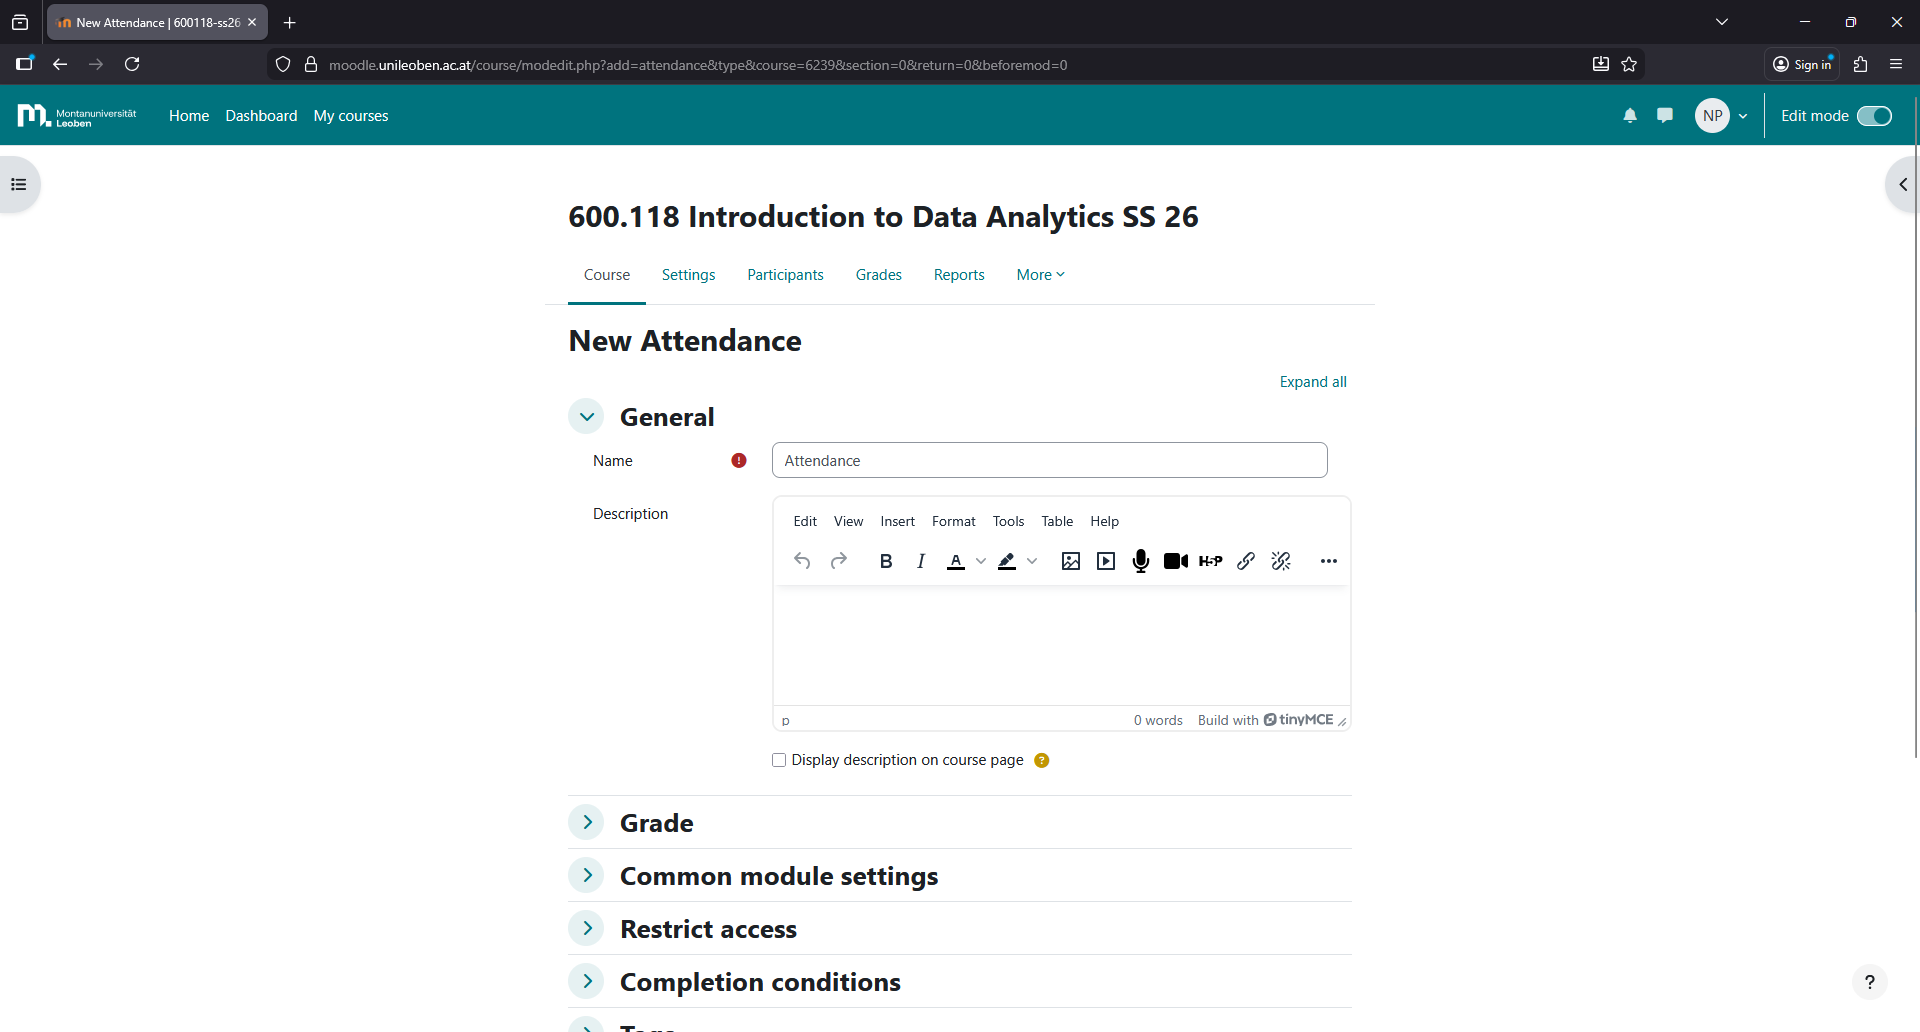
Fill in the details of the attendance activity and click “Save and return to course”.
Step 6
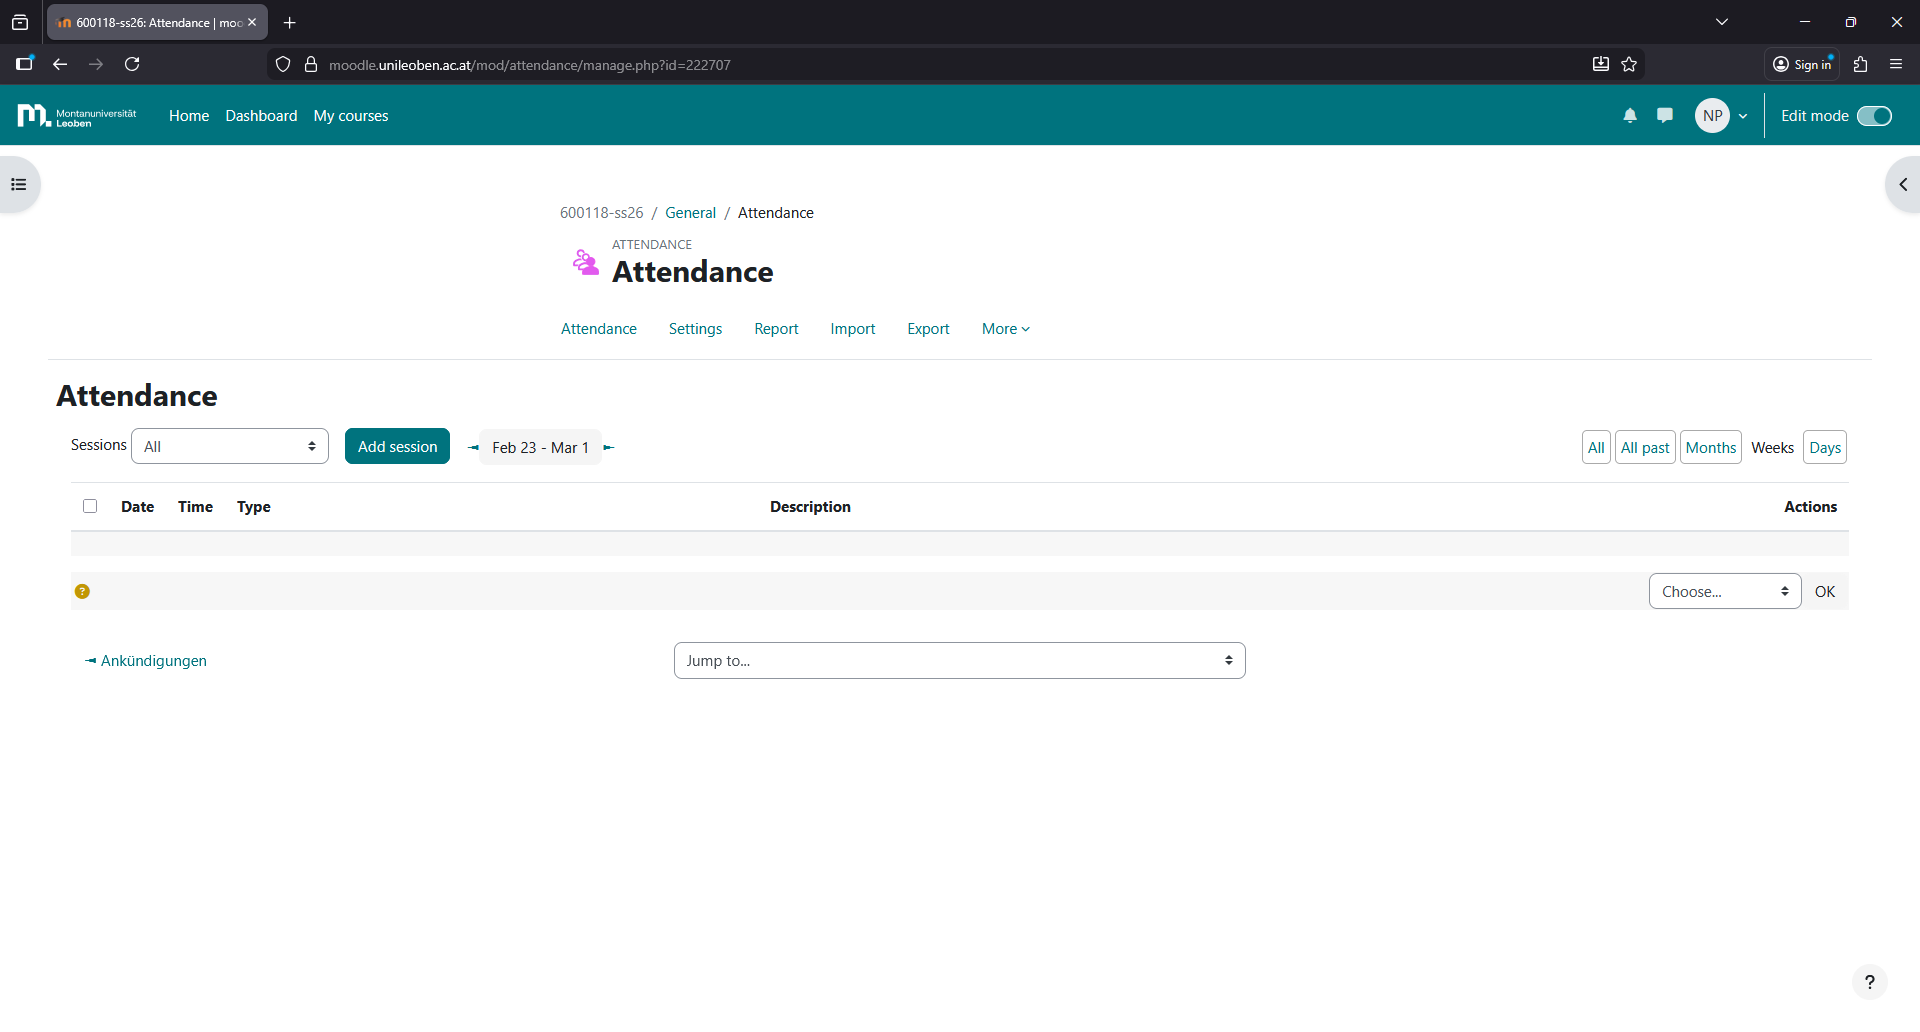
Click on the attendance activity you just created.
Step 7
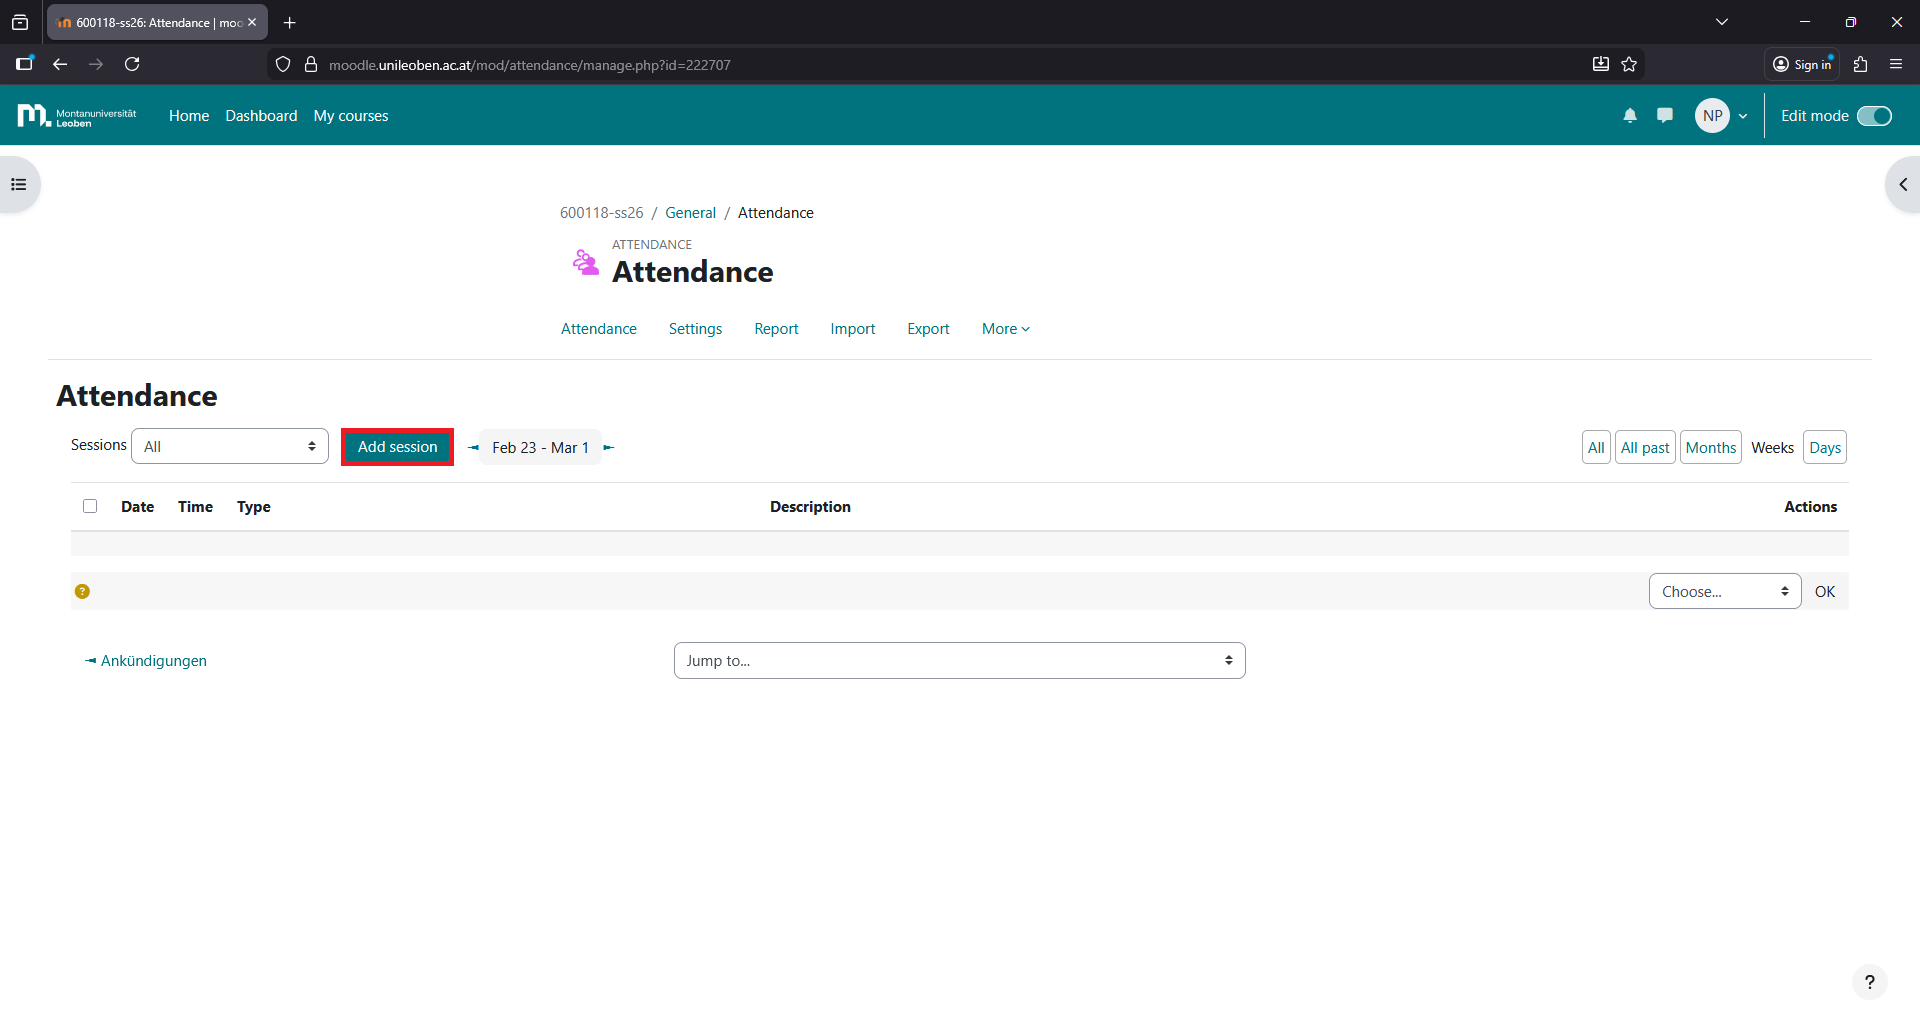
Click on “Add session”.
Step 8
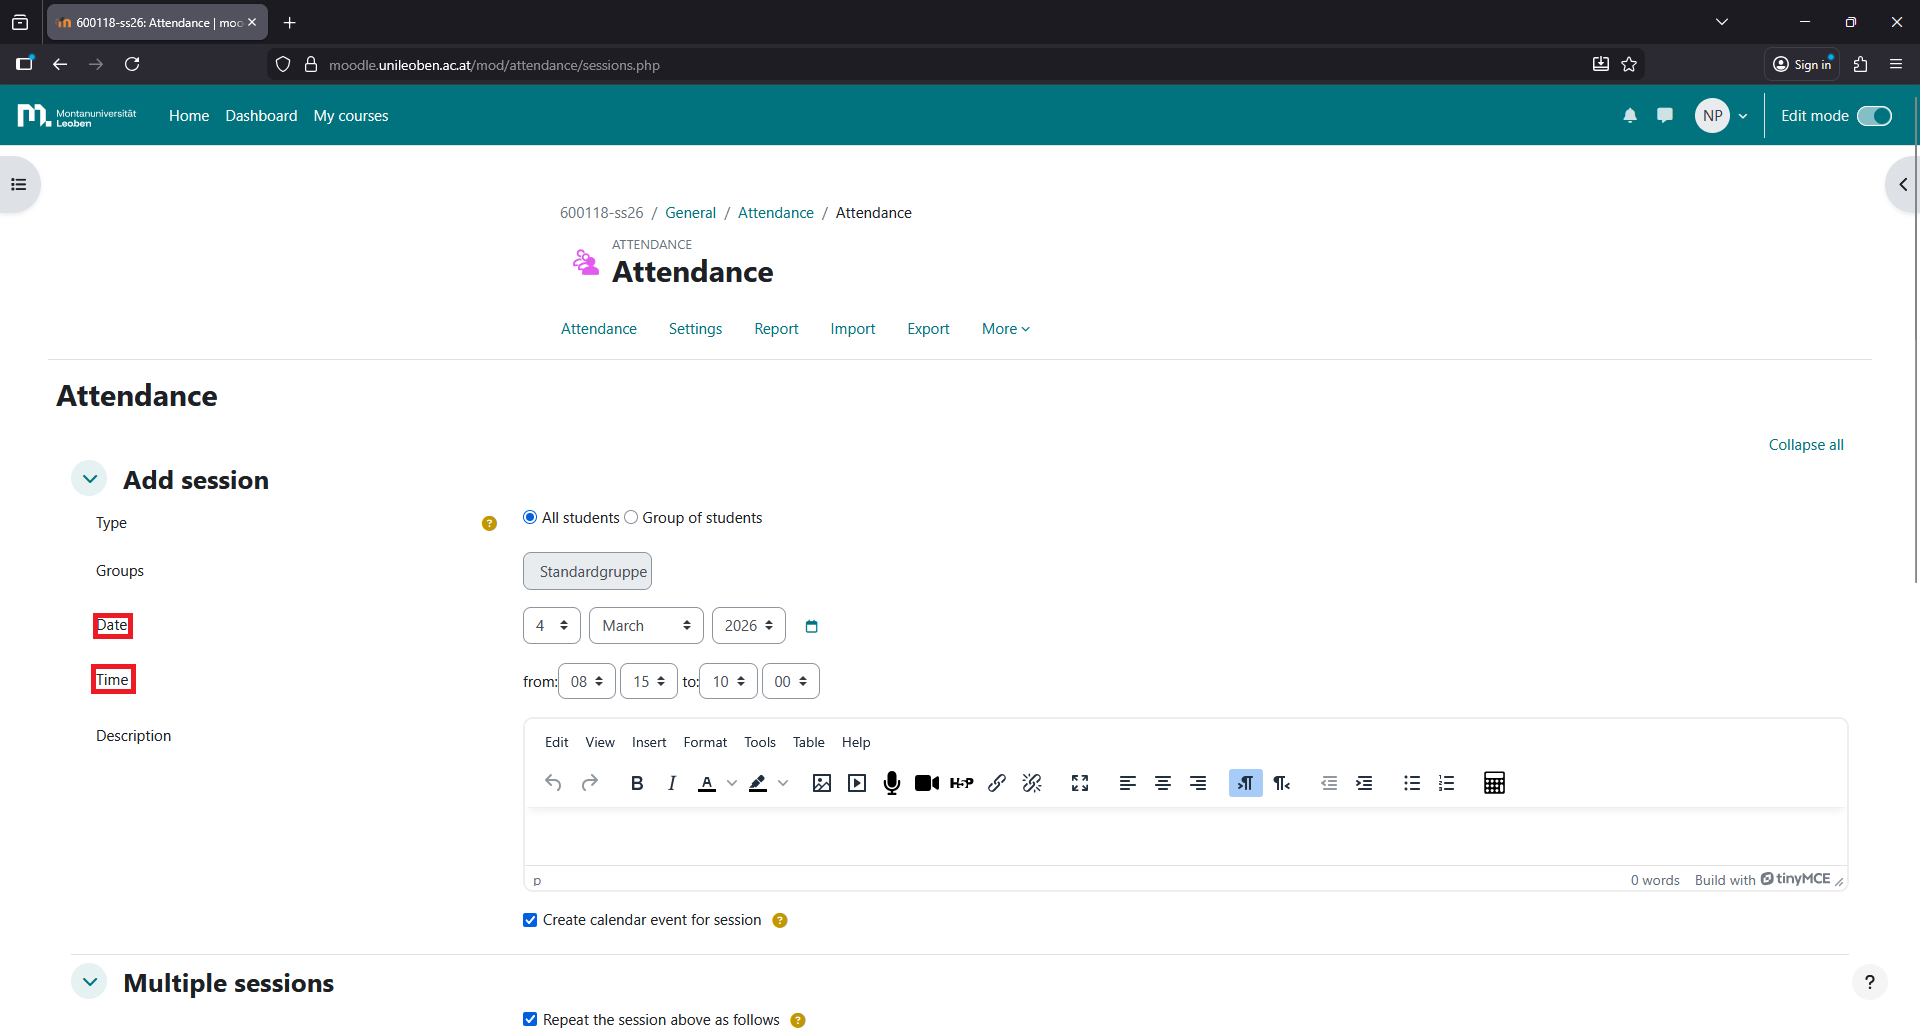
Fill in the details of the session and click “Save changes”
Step 9
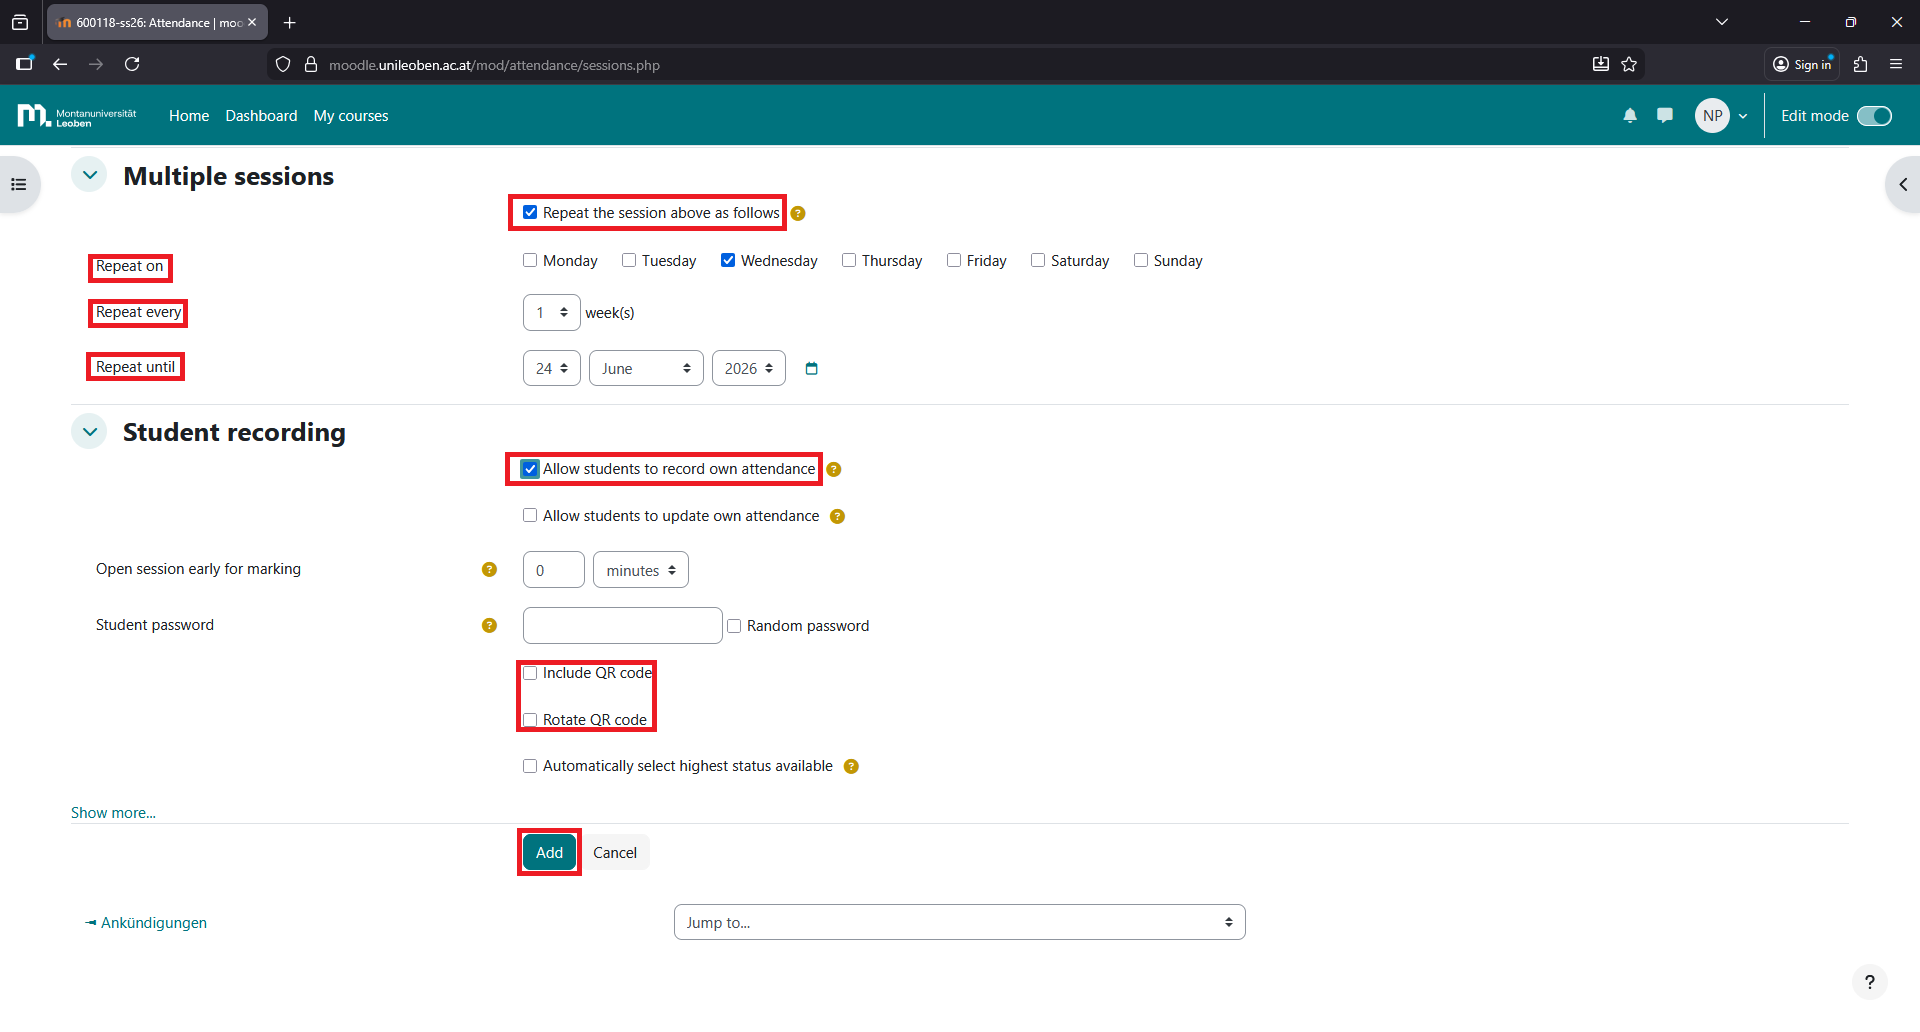
Click on “Include QR code” and “Rotate QR code”. Then click “Add”.
Step 10
After that, a QR code will be generated. Students can scan this QR code to mark their attendance.
Step 11

You have created all the sessions!
Step 12
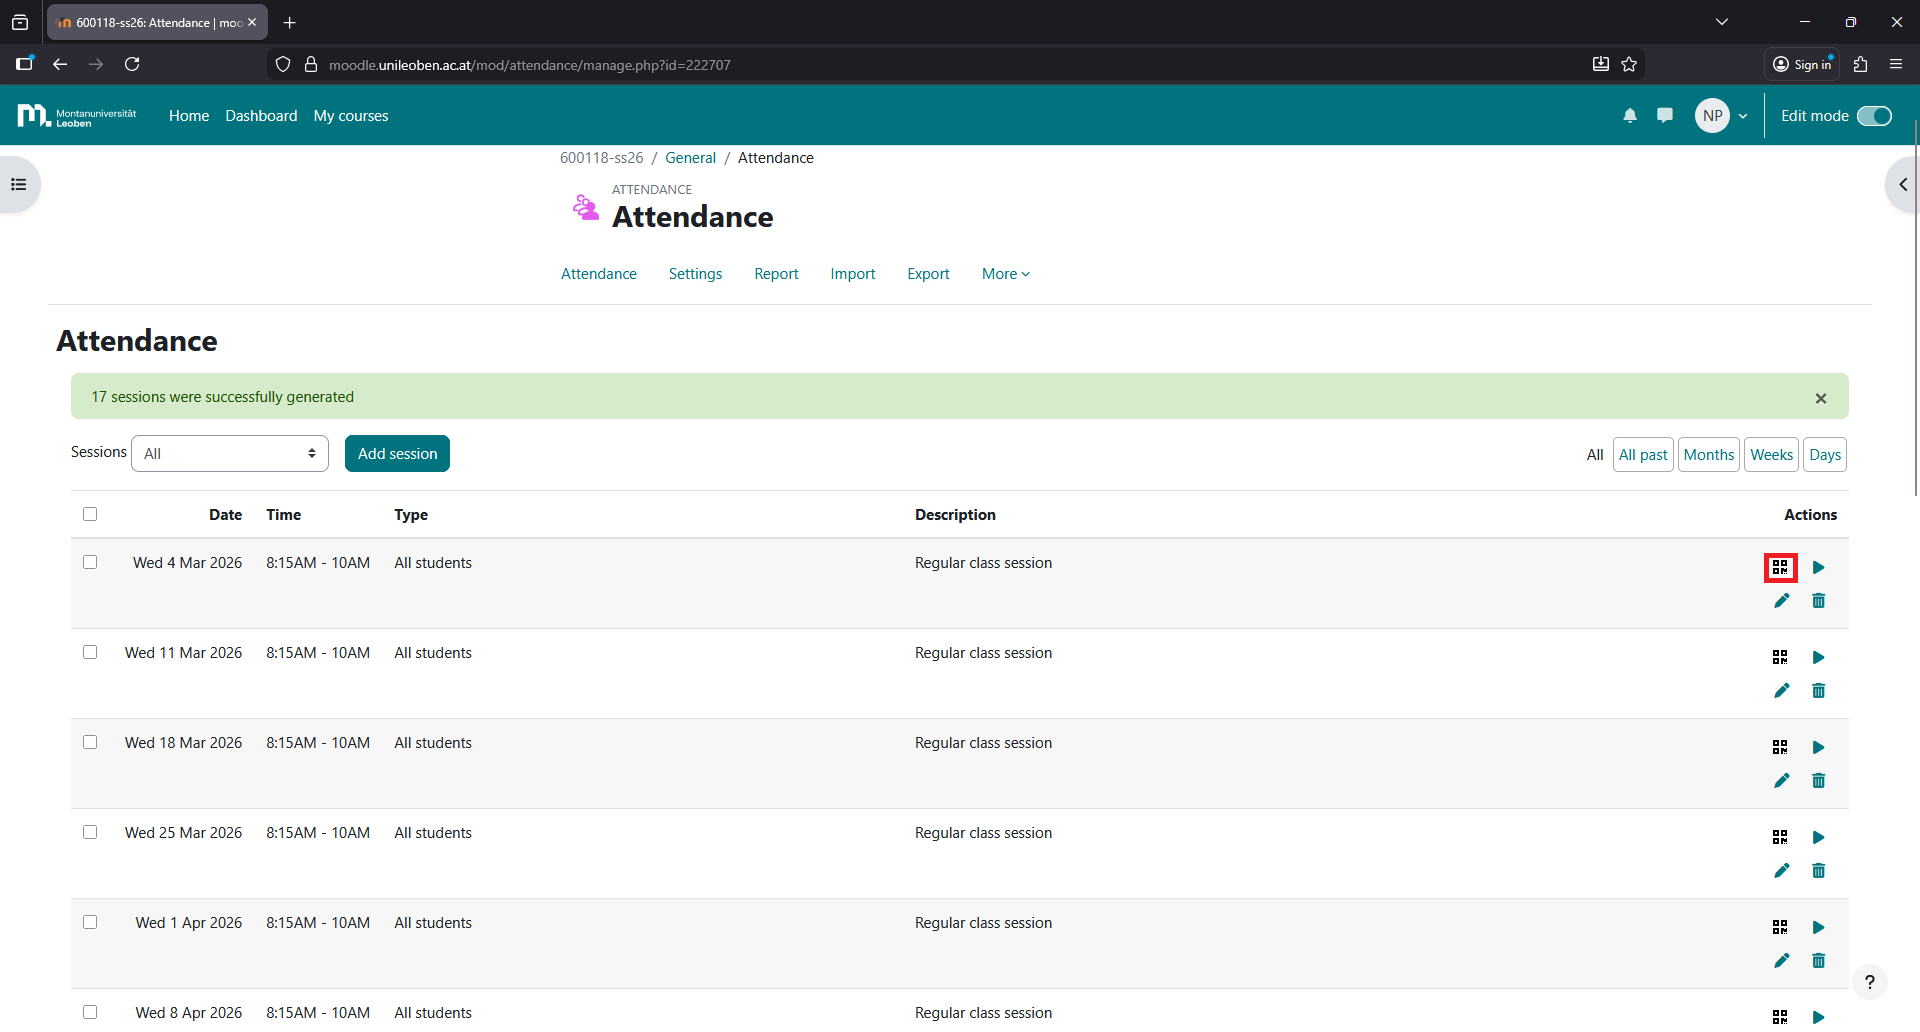
In the current lecture, click on the QR code symbol on the right to generate it. After a few seconds, a new QR code will be generated.
Step 13
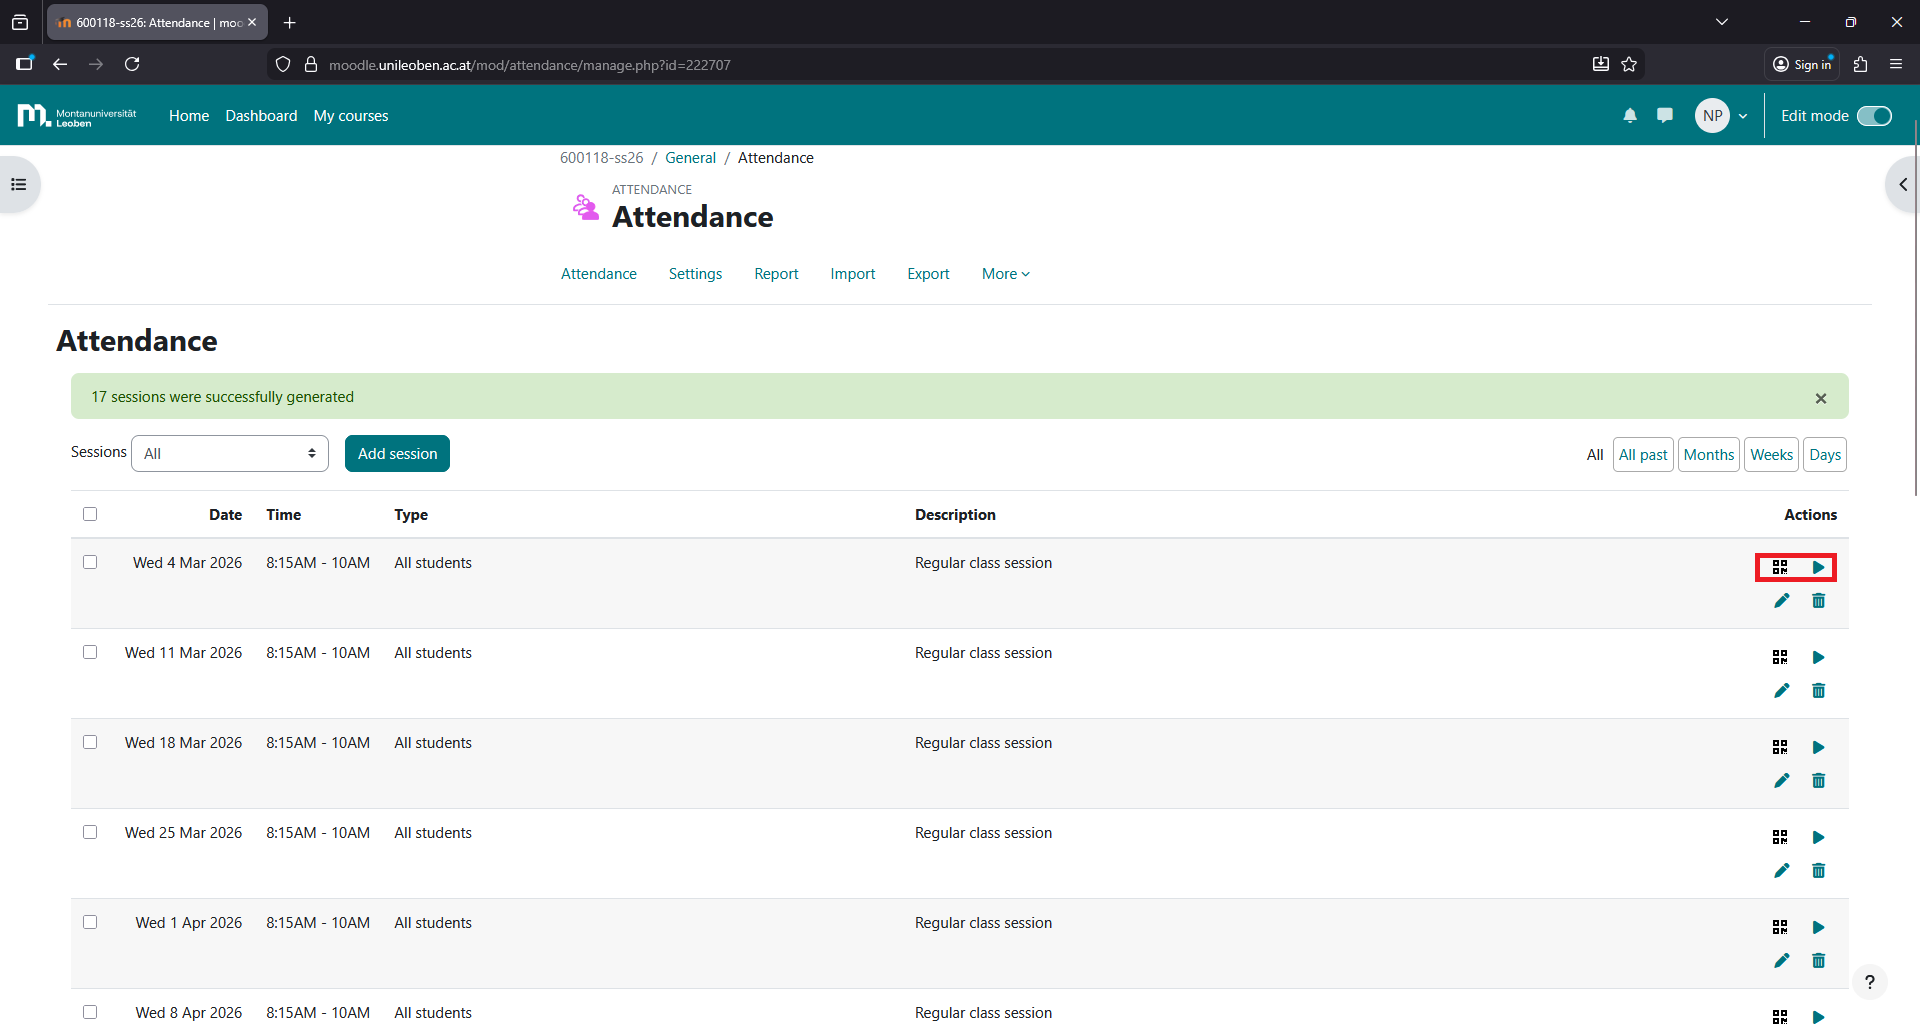
Click the QR code on the right, to share it with students who arrive later. Or, click on the “Green triangle”to take attendance manually.
Step 14
To view the attendance records, click on “Attendance” in the attendance activity.